Installation failures usually begin before the first piece is bedded: mixed thicknesses, unapproved shade variation, an unsuitable substrate, or grout trapped in the textured surface can undermine the finished work. By checking the material, preparing each application properly, controlling layout and joints, and matching the finish to the setting, you can reduce lippage, staining, cracking, ponding, and costly replacements.
Key takeaways
- Approve a representative panel and delivered lot before releasing stone for installation.
- Check substrate flatness, strength, moisture, falls, and drainage before laying stone.
- Use a controlled layout, full bedding, careful cuts, and consistent joints to limit lippage.
- Match leather finish, joint design, grout, and cleaning methods to the intended use.
Inspect the Stone and Approve the Lot Before Installation
Do not release the material for installation until you approve a representative panel and the delivered lot against it. This is the first control against honey yellow premium leather finish stones for installation problems: a showroom sample cannot show the full variation in tone, veining, fossils, pores, filled areas, or leathering depth.
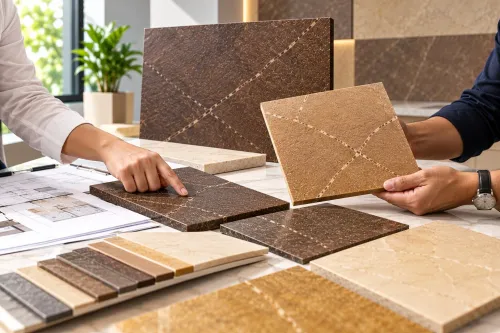
1. Build a mock-up using the proposed stone, grout, sealer, cleaning method, and project lighting. Approve its colour, texture, pore filling, joint appearance, and cleanability in writing.
2. For a honey yellow leather stones bulk order, request current lot photographs or slab selections and record shade and finish tolerances in the purchase order. Ask for water absorption and density results under ASTM C97/C97M, flexural strength under ASTM C880/C880M where relevant, and abrasion data under ASTM C241/C241M for heavy foot traffic.
3. Inspect every crate for cracked corners, chipped edges, staining, wet packing, mixed batches, and mixed thicknesses. Measure several pieces from each crate; nominal thickness is not proof of uniform thickness, especially when the stone is uncalibrated.
4. Confirm the quotation identifies the stone type, finish, nominal and minimum thickness, calibration, edge treatment, acceptable filling, quantity, crate packing, replacement procedure, and intended interior, wet-area, or exterior use.
5. Retain the approved reference panel and representative pieces from every lot until final acceptance. A replacement from another quarry face or production run can differ in colour, pore filling, and leathering depth.
Reject pieces with structural cracks, severe warping, uncleanable contamination, or dimensions that cannot be accommodated by the planned installation.
Prepare the Substrate for Floors, Walls, Terraces, and Landscaping
A stone installation fails at the base before it fails at the surface. For leather finish stones in Telangana, inspect every substrate for movement, cracks, contamination, flatness, curing, and moisture before choosing adhesive or mortar.
1. On concrete, remove laitance, paint, oil, dust, and loose material. Repair structural cracks, fill voids, and grind high spots; do not bury an uneven slab under irregular adhesive thickness.
2. On screed, confirm that it is fully cured, firmly bonded, dry enough for the selected adhesive, and free from powdering. Rebuild hollow or cracked areas instead of laying over them.
3. On balconies and terraces, form the designed fall to working drains, seal penetrations and edges, and complete waterproofing before stone installation. Flood-test the waterproofing; ponding beneath stone causes debonding and freeze-thaw damage where applicable.
4. On soil, excavate soft ground, compact the subgrade in layers, install the specified granular sub-base, and provide edge restraints. Add geotextile where fine soil can migrate into the base; unconfined pavers rock under traffic.
5. On walls, remove loose render and coatings, repair masonry, and create a clean, plane surface. Support heavy pieces during curing and use a fixing system rated for the stone’s size and weight.
Landscape paths and paving need positive drainage, compacted bedding, and restrained edges. Leave movement joints where the underlying slab or terrace has them; bridging those joints transfers cracks into the stone.
Control Layout, Cutting, Bedding, and Lippage
Set a finished-floor datum before cutting or bedding, then sort pieces by measured thickness rather than laying them in crate order. A dry layout exposes shade changes, uneven edges, awkward cuts, and joint alignment before adhesive fixes the mistake.
1. Measure several stones from every crate. Group similar thicknesses together, reserve damaged pieces for cuts, and mark the approved reference panel against the layout. Do not mix lots without checking colour and leathering depth.
2. Snap control lines from the room’s principal sightline and balance perimeter cuts. Use a wet diamond saw for straight cuts, keep cut edges at walls or thresholds, and dry-fit each piece before applying bedding.
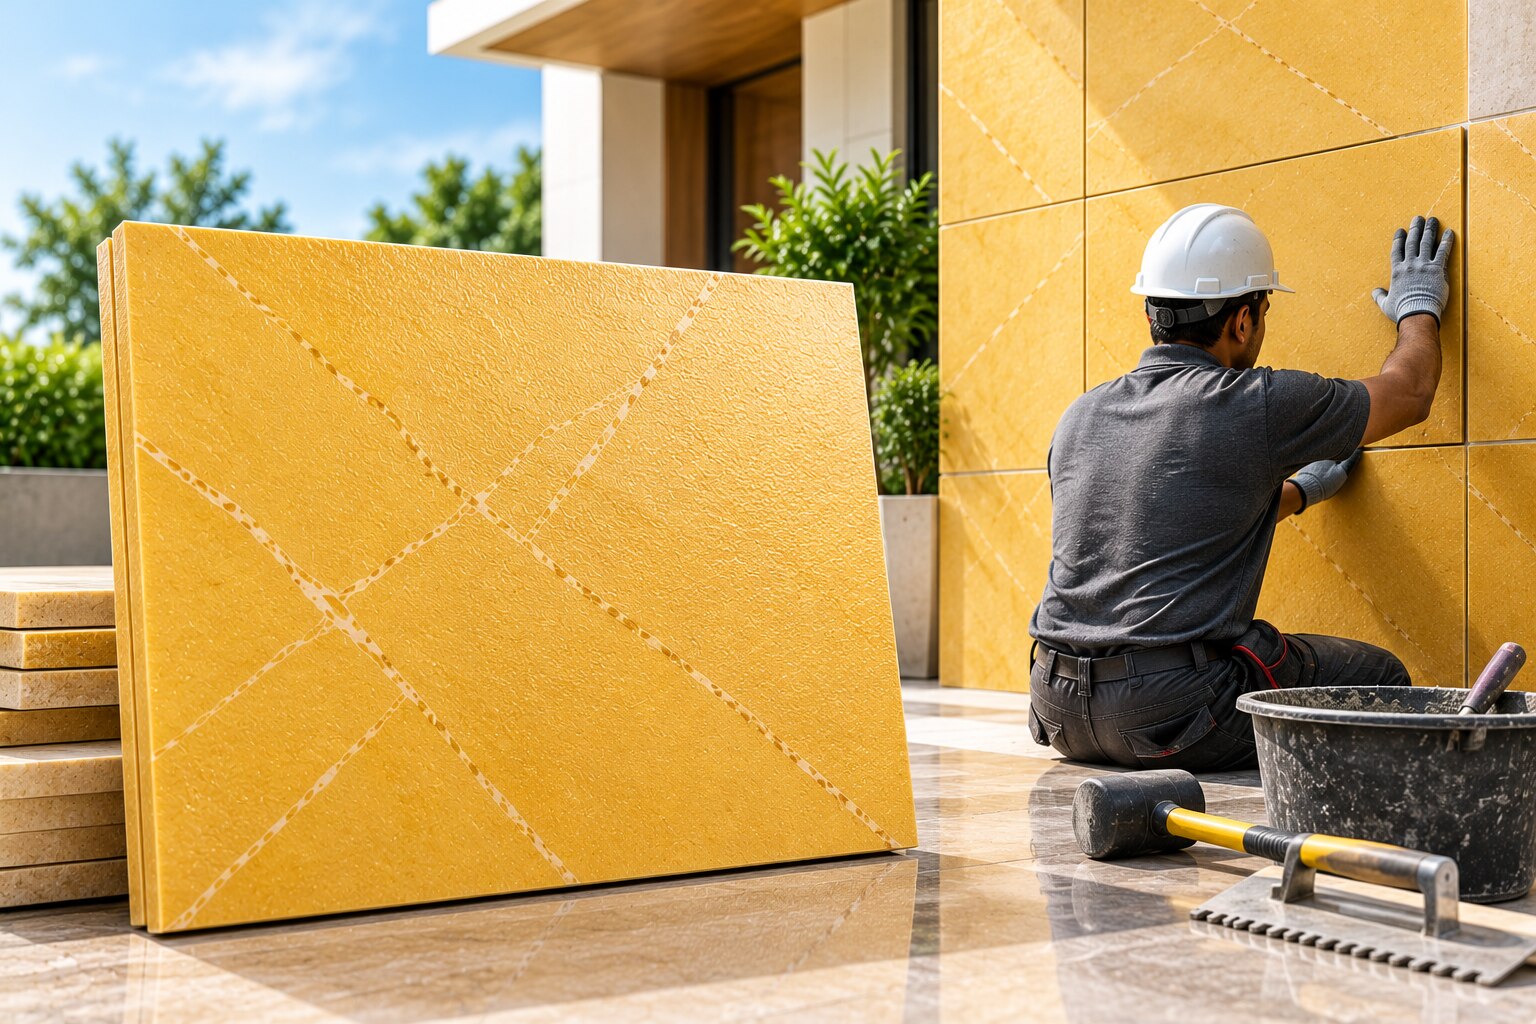
3. Use a compatible white cementitious mortar or stone adhesive. Spread it over the prepared substrate with a notched trowel, then back-butter each stone so the ridges collapse into a continuous bed; never use isolated mortar dabs to correct an uneven slab.
4. Lift pieces during installation to verify coverage. Target at least 80% in interior dry areas and 95% outdoors or in wet areas, confirming the adhesive system’s requirements; voids left under corners become hollow spots and rocking pieces.
5. Adjust height with a consistent medium-bed or screed method based on measured thickness, not by forcing stones down. Check every few pieces with a straightedge, remove adhesive that squeezes into joints, and correct lippage while the bed remains workable.
Keep joints straight with spacers or a marked gauge, and leave perimeter and movement gaps open for the jointing stage. Do not walk on the installation until the bedding has cured to the product instructions.
Use the Right Joints, Grout, Drainage, and Cleaning Sequence
Use a full, even bedding layer that supports every part of the stone. Choose a polymer-modified cement adhesive for sound, prepared interior substrates; use a suitable exterior or wet-area system where water, temperature changes, or heavy traffic apply.
For uncalibrated pieces, use a compatible full-bed mortar method rather than spot-bedding, which leaves hollow areas beneath thickness variations.
Joint choice affects both appearance and cleaning:
| Option | Joint width | Grout and use |
|---|---|---|
| Tight joint | 3–5 mm | Matching warm beige grout for calibrated interior tiles with consistent edges |
| Standard joint | 6–10 mm | Sanded, flexible beige or light taupe grout for natural variation and easier alignment |
| Wide joint | 10–15 mm | Exterior or heavily irregular paving; use only where the layout and specification permit it |
Carry movement joints through the stone at structural joints, around perimeters, at changes of plane, and at the intervals stated in the project specification. Fill them with an appropriate flexible sealant, not rigid grout, or movement can cause tenting, cracked joints, and debonding.
Form exterior and wet-area falls toward drains before laying, commonly 1:60 to 1:80 where the waterproofing design permits. Keep the surface protected during curing; prevent traffic, standing water, rapid drying, and direct contamination until the adhesive, mortar, and grout reach their specified cure.
- Remove cement residue promptly with clean water and a non-acid, stone-compatible cleaner.
- Do not acid-wash grout haze; carbonate limestone can etch or lighten unevenly.
- Test the complete cleaning method on the approved mock-up, then use a soft brush or pad to clear leathered recesses without polishing the texture.
Match the Finish to the Use and Specify the Supplier Correctly
Honey yellow leather finish suits interior floors, feature walls, reception areas, covered terraces, and landscaping where a textured, natural appearance matters more than a perfectly uniform surface.
Do not specify it for a wet ramp or pool surround as “anti-slip” without project-specific slip testing; leathering creates texture but does not guarantee a safe coefficient of friction.
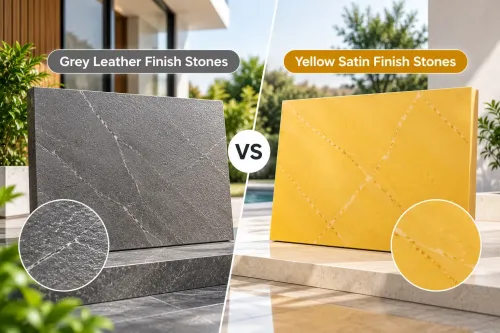
| Finish | Surface behaviour | Best fit and limitation |
|---|---|---|
| Leather | Textured, low-sheen, with recesses | Floors, walls, and sheltered exterior areas; traps grout and dust |
| Honed | Flat, smooth, matte | Easier cleaning and consistent contact; shows scratches and stains |
| Polished | Glossy and reflective | Decorative interiors; slippery when wet and highlights etching |
| Flamed or hammered | More aggressively textured | Exterior paving; can feel harsh underfoot and vary in appearance |
A honey yellow premium leather finish stones supplier must describe the material precisely, not quote only a colour. Require these details in the purchase order:
- Stone type, leather finish, nominal and minimum thickness, calibrated or uncalibrated status, edge treatment, acceptable filling, quantity, and crate-packing method.
- Approved use: interior, wet-area, covered exterior, or exposed exterior; include the replacement process for chipped, cracked, or mismatched pieces.
- Current lot photographs or slab references, written shade and leathering tolerances, and an approved reference panel retained through final acceptance.
- A mock-up showing grout, sealer, lighting, and cleaning. Specify non-acid cleaning because acid can etch limestone.
For bulk orders, ask a premium honey yellow stone dealer for ASTM C97/C97M absorption and density results, ASTM C880/C880M flexural strength where relevant, and ASTM C241/C241M abrasion data for heavy foot traffic. Agarwal Stone Company should receive the same written specification before quoting alternatives.
Related products
 | Stone honey yellow ₹28 Yellow leather finished stones View product → |
 | Leather finished stones Tandur stones when compared to other costly flooring options . View product → |
Frequently asked questions
How do you approve honey yellow premium leather finish stones before installation?
Compare the delivered lot with an approved representative panel, checking tone, veining, fossils, pores, filled areas, and leathering depth.
What substrate checks prevent installation problems?
Confirm the substrate is sound, clean, adequately flat, and suitable for the application; verify falls and drainage on terraces and landscaped areas.
How can you control lippage when installing leather finish stones?
Plan the layout before cutting, use consistent joint widths, support each piece with full bedding, and check adjacent edges during installation.
How should joints, grout, drainage, and cleaning be coordinated?
Choose joint and grout details for the exposure, keep water moving toward drains, and follow the correct sequence of curing, grouting, and cleaning.
Keywords